- Feb 20, 2019 To close an app completely, make sure it’s your active application—by looking at the Menu Bar—and press cmd+Q. To make a different app active, follow any of the steps for opening applications on a Mac. Alternatively, you can click the app’s name in the Menu Bar and select the Quit Application option. Organizing Apps on a Mac.
- Final word on photo management on Mac. There are basically two things you need to remember to bring order into your photographing life: Before you get to organization and management, be sure to unclutter your photo library. The easiest way to do it is with a duplicate finder, such as Gemini 2. Otherwise you'll be rummaging around in thousands.
- SQLPro Studio is the premium database management tool for Postgres, MySQL, Microsoft Management Studio and Oracle databases. Some of the great features include: + Intellisense/SQL autocompletion. + Syntax highlighting with customizable themes (including dark). + Tabbed based interface for an optima.
- Clockify provides the time management application for free. It is a web-based application and can be used on desktops and mobiles for time tracking. It has an app for Windows and Mac desktop. It has an app for Android, iPhone, and iPad. Features: Reports will.
Sep 24, 2018 — Managing a huge gallery and organizing photos is a tricky business, even if you’re generally tidy, so it’s always a good idea to use some help. Especially when there’s software out there designed specifically to deal with an overload of pictures.
The only trouble with professional photo organizing software is that, much like any photo equipment, it’s painfully expensive. In this article we’ll suggest tools that tame your giant photo gallery without leaving a hole in your pocket.
Get reviews, pricing, and demos on the best order management software. Prices starting from $12/year/user. Compare products like salesorder.com, Zoho, TradeGecko, and more. Reviews on web-based, Mac, Windows, iOS, and Android systems.
Best photo organizing software for Mac, as of 2018
Gemini 2: The duplicate photo finder
The first thing you need to do to organize photos is remove the extras. There’s a high chance you’ve got plenty of duplicates and similar images — 15 shots from slightly different angles, for instance. You usually only use one of those, so there’s really no point in keeping them all.
Although you’re probably well aware that there are 7 days in a week, I stress this unit of measure because when you use Terminal to change the update check frequency, you will be changing it based on the number of days, not weeks, that lapse between each check. 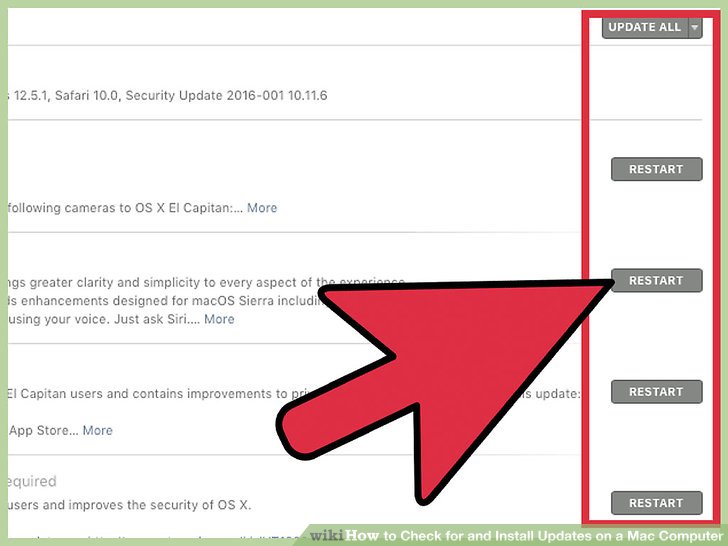
The easiest way to get rid of those files is to get a duplicate photo finder, such as Gemini 2. It can scan your whole gallery, locate duplicates and point out similars. It usually takes a few minutes to clean your whole photo collection, so download Gemini and give it a quick test drive.
Photos: Mac’s native photo organizer app
Here’s the biggest secret to good photo organization: master Photos. You might be thinking: seriously, a native Apple app is any good? And you’d be surprised how much it is.
Since macOS Sierra, Photos has been getting makeovers and new features. In macOS Mojave, the app lets you organize content just by dragging-and-dropping it, and with Smart Albums, you can instantly group photos by date, camera, and even the person in them. At this point, it’s just a really good piece of photo management software.
Mylio: A free photo manager app
If you’ve been meaning to consolidate your photos in one place for years, Mylio will help you do just that. When you first start using the app, it offers to look for your photos on the current device, on an external drive, and even on your Facebook.
Once all the photos you’ve taken in your lifetime are imported, Mylio organizes into a variety of views. The coolest one is Calendar, showing you photo collections on an actual calendar. That way, you’ll quickly find the photos from your son’s first birthday, even if you forgot how you named the folder. Plus, Mylio offers a free mobile app, so you can access your photo library wherever you are.
Final word on photo management on Mac
There are basically two things you need to remember to bring order into your photographing life:
- Before you get to organization and management, be sure to unclutter your photo library. The easiest way to do it is with a duplicate finder, such as Gemini 2. Otherwise you'll be rummaging around in thousands of photos you don't even need.
- Photos, the native Apple photo manager can accomplish everything you need to make organizing photos into groups and categories easy.
- Third-party tools can provide you with added functionality that’s missing in native macOS tools, like calendar view or managing photos right in the Finder.
Now that you know all the secrets to photo organization, Mac photography shouldn’t be that hard or that expensive. Not when you’ve got the right tricks up your sleeve.
Download the PC software you want to run on your Mac. Right-click the PC software in finder. A drop-down menu should appear. Click “open with” and choose WineBottler. If the PC software is included in WineBottler’s application database, the application will run on your Mac. To make sure the PC software you want to use is compatible with. Run pc software on mac free.
These might also interest you:
You can make all of your displays mirror each other, or extend your workspace with different apps and windows on each display. If you use an external display with your Mac notebook, you can also use closed-display mode.
Mac App Store For Pc
Check your requirements
- Check the ports on your Mac to find out whether you need an adapter.
- Check how many displays your Mac supports: Choose Apple menu > About This Mac, click Support, then click Specifications. On the webpage that appears, the number of displays your Mac supports appears under Video Support.
Use extended desktop mode
Maximize your workspace with extended desktop mode, which lets you enjoy full-screen apps and windows on each monitor. Then, use Mission Control to organize apps and windows across your displays. If your Dock is on the bottom of your screen, it appears on any of your displays when you move your pointer to the bottom edge of your display.
Turn on extended desktop mode
Mac Apps Download
- Make sure that your external display is turned on and connected to your Mac.
- Choose Apple menu > System Preferences, then click Displays.
- Click the Arrangement tab.
- Make sure that the Mirror Displays checkbox isn’t selected.
Arrange your displays or change your primary display
So that you can move apps and windows across your displays in one continuous motion, arrange your displays to match the setup on your desk. You can also change your primary display, which is where your desktop icons and app windows first appear.
- Choose Apple menu > System Preferences, then click Displays.
- Click the Arrangement tab.
- To change the position of a display, drag it to the desired position. A red border appears around the display as it's moved.
- To set a different display as the primary display, drag the menu bar to the other display.
Use video mirroring
With video mirroring, all of your displays show the same apps and windows.
Turn on video mirroring
- Make sure that your external display is turned on and connected to your Mac.
- Choose Apple menu > System Preferences, click Displays, then click the Arrangement tab.
- Make sure that the Mirror Displays checkbox is selected.
Use AirPlay
With Apple TV, you can mirror the entire display of your Mac to your TV, or use your TV as a separate display. To turn on AirPlay, follow these steps:
- Make sure that your TV is turned on.
- Choose in the menu bar, then choose your Apple TV. If an AirPlay passcode appears on your TV screen, enter the passcode on your Mac.
- Mirror your display or use your TV as a separate display:
- To mirror your display, choose , then choose Mirror Built-in Display.
- To use your TV as a separate display, choose , then choose Use As Separate Display.
- To turn off AirPlay, choose , then choose Turn AirPlay Off.
If you don't see in the menu bar, choose Apple menu > System Preferences, click Displays, then select the 'Show mirroring options in the menu bar when available' checkbox.

Learn more about how to AirPlay video from your Mac.

